

How To Take Clearcoat Off To Paint
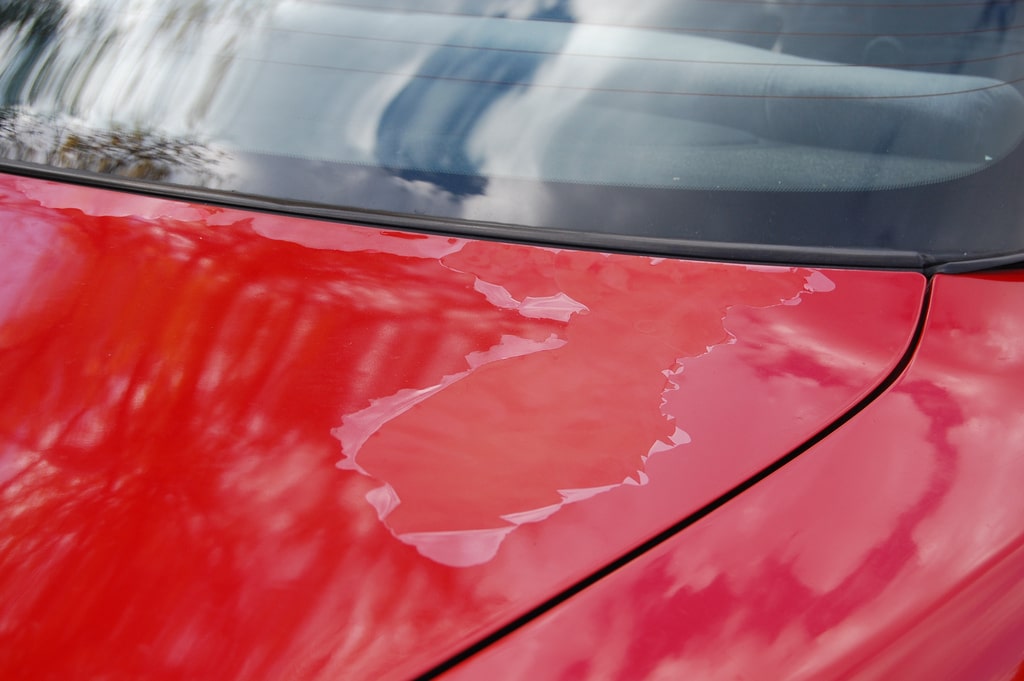
A clear coat is a transparent layer of pigment on superlative of a vehicle'southward paint job that provides some protection to the colored paint from minor scratches, dust, corrosion and environmental impacts, thus improving the longevity of the color and the glossy smoothen. All the same, just similar every other kind of finishing, it sustains scratches and deteriorates from exposure to the elements, and when information technology starts to pare off, yous volition need to remove the whole thing and supervene upon it. Learning how to remove clear coat from machine, and chiefly without damaging the underlying paint, is an important skill y'all should master to ensure your vehicle always looks its best.
Small cracks and scratches can pb to bigger, more than permanent damages, so at a certain indicate, yous volition demand to address and repair those amercement and remove the blemished articulate coat to use new layers of clear coats on top to restore your vehicle to its original gloss. That said, it is common for DIY machine owners to damage the underlying paint and other parts during the removal process. Worry not, merely follow our pace-by-step guide and you' will exist fine.
How To Set Pocket-size Clear Coat Damages
In example of less serious damages to the clear coat that might not require a consummate removal, you can repair the articulate coat harm to a certain extent by first using a degreaser to remove whatever wax that might be present on the auto's outside. Then take painters tape and tape off the expanse where you lot will be working; you should go about an inch past where the original clear glaze ends.
Utilise an 800-grit sandpaper to sand the clear coat down. As you work away from the damage, employ a lighter manus on your sanding, as you are trying to establish a shine transition from the impairment to the undamaged areas without leaving any lump or roughened line where the old articulate coat ends.
Now you tin use a spray-on clear glaze on the section that you just sanded. You'll need to apply multiple layers until the whole surface looks even and polish. Utilize in light coats and allow each coat to dry out completely before applying the adjacent coat.
Applying Another Clear Glaze Over a Clear Glaze
Many automobile owners wonder if they can apply another spray-on articulate glaze over the car's original clear coat. The answer to this question heavily depends on the condition of the start clear coat layer. If it is in good condition with no visible damages like peeling or serious scratches, and then you lot tin can apply another layer of clear coat on elevation to enhance the gloss and smooth of your vehicle'due south paint job.
If the clear coat has whatever damages that cannot exist corrected with another top glaze, you will have to repair those amercement equally outlined in a higher place before you can proceed applying a new clear coat on top.
How to Remove Clear Coat From Car: Notes
Friendly Reminder
Removing the clear coat from the entire surface of your vehicle is a laborious and elaborate procedure that requires sure tools, skills and a lot of patience. Furthermore, without a high level of workmanship, this DIY project may easily pose damages to the various parts and components of your motorcar.
If you are not familiar with car maintenance and outside handling, it is best to leave the job to a trained expert or qualified mechanic. The costs to repair the boosted amercement would likely offset any savings from trying to remove clear coat from car by yourself later on all.
Do Not Apply Paint Thinner
Another of import reminder is to not employ pigment thinner to remove clear coat from car . It may remove the clear coat but it will probably take several applications of the thinner, and in the process of removing you will probable besides remove the underlying paint.
Only utilise pigment thinner to remove your clear glaze surface in case you lot no longer want that paint job. Some automobile owners might recommend you lot try mineral spirits instead for a safe removal and employ fine dust sandpaper to rub away any blemished articulate coat areas. However, it is recommended by professionals that y'all use certain tools and agents and strictly follow the process below to remove clear coat from auto without damaging paint.
How to Remove Clear Glaze From Motorcar: What You Will Need
Earlier nosotros move on to the process of how to remove clear coat without damaging paint, beneath are some tools and materials that you will need to perform the job efficiently while being gentle on the underlying paint job:
- Washing hose and water for rinsing, the beginning grooming step earlier the actual removal process.
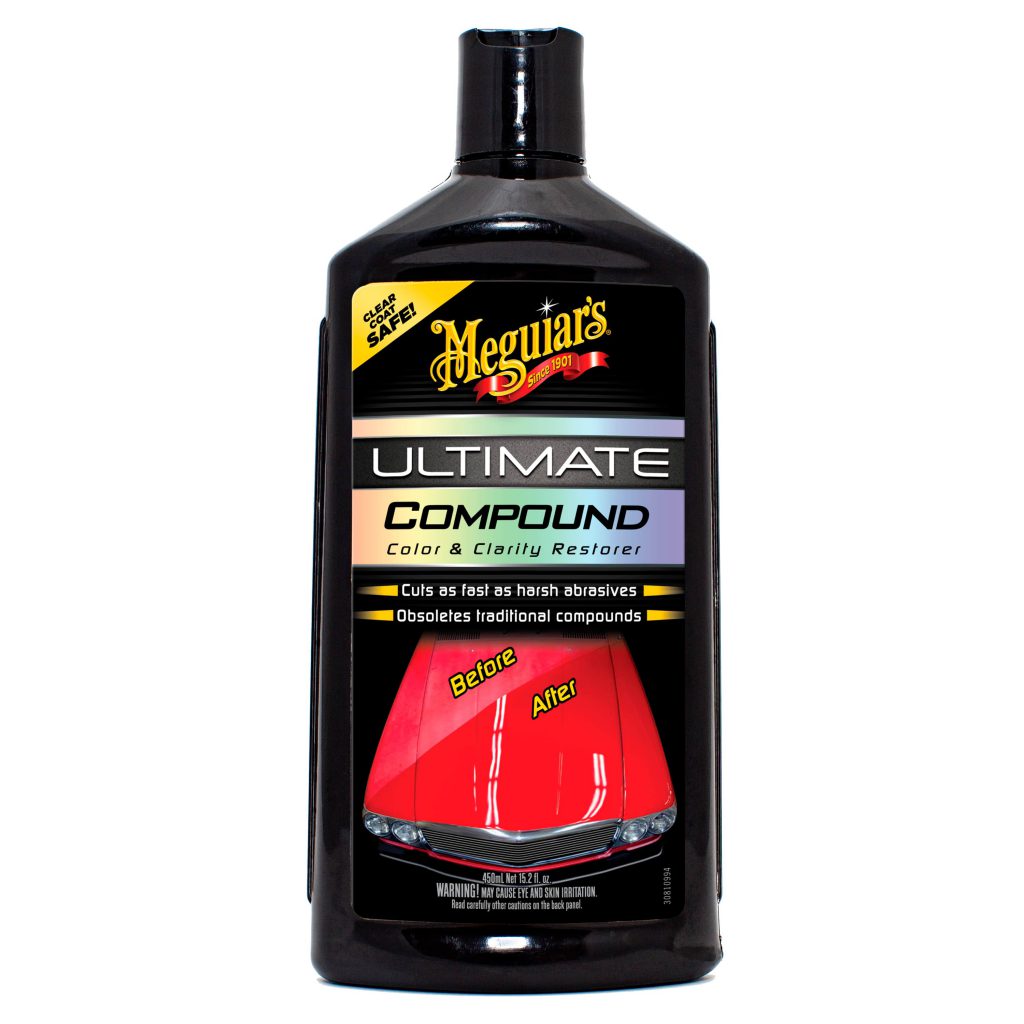
- Specialized buffing chemical compound: The safest way to remove clear glaze without damaging the paint is to apply a buffing compound or a specialized clear coat removing agent.
- Sandpaper : 400 dust, 800 grit, one thousand grit, i,200 dust
- Wax : Waxing is a requirement for every procedure of exterior treatment, although it might be quite a laborious process without electric tools. Never sacrifice on the quality of the wax for a mirror-image gloss and long-lasting results.
- Electric polisher: Manually polishing the entire outside surface of a vehicle is no doubt a long and hard procedure, not to mention it is unlikely that you volition attain a spotless, even finish at the finish. With an electric polishing device, you get the work done faster without expending excessive physical labour. An electric polishing machine is a tool you volition get a lot of employ out of, since you will demand to wax and polish your car regularly, so it is a reasonable investment if you adopt to take intendance of your baby in your own garage.
- 100% wool buffing pads: These pads are made up of 100% wool concentration and do not budge like a towel, and so they are more efficient in material removal. 100% wool pads are really important in working on the buffing compound every bit they can agree up to as much product as you lot want.
- Spray Detailer: This is for cleaning and finishing off the auto's surface afterwards removing the clear coat and buffing chemical compound. A quick wax spray detailer will elevate smoothen and remove all harmful substances from the surface, restoring your vehicle to a smoothen, even and shiny paint chore.
How to Remove Clear Coat From Car: The Step-by-Step Guide
Wash the vehicle
This is an essential step to prepare for an easier and more effective removal of clear coat, so never skip it. Paint repair and maintenance jobs generally require extra clean surfaces. This makes sure the whole surface is clean and no debris or dirt is nowadays while you start applying handling products on information technology, which would lead to further damaging scratches on the already blemished surface.
Kickoff, to prepare for step 2, soak the sandpaper in water. Now you lot tin go ahead and wash the vehicle thoroughly. You can use a duster or soft castor to gently become rid of equally much dust as you can, then use a garden hose to rinse off whatever remaining dust and debris earlier starting to soak the vehicle in lather. This pace would minimize the adventure of making new scratches while scrubbing.
If needed, have actress fourth dimension to soak the car with a soft sponge, taking care not to generate new scratches and dents in the process. Then rinse with a garden hose.
Equally soon every bit y'all are done with cleaning the vehicle, use a soft and dry fabric to wipe off backlog moisture. Be certain to let the vehicle dry completely in a well ventilated expanse.
READ More than
- Absolutely Best Car Wash Soaps In 2020
- The Dos And Don'ts Of Car Pressure Washing
Wet-sand the clear coat
At present proceed to wet-sand the clear glaze material with the 400 grit sandpaper which you had soaked in h2o in step 1 above. This step is mayhap one of the nearly significant in the entire process, so permit yourself quite a fleck of time and make certain y'all get it right.
Rub the moisture sand paper gently atop the surface to even out the scratches and weaken the clear coat. Try to sand only about 1 inch around any scratch or problem area.
Continue wet sanding with higher dust sandpaper
After you have wet-sanded the unabridged car with the 400 grit sandpaper, motion on to the finer and higher rated sander. Slowly introduce the 800 grit, 1,000 grit and finally the i,200 grit sandpapers. At this phase, commence sanding at about ½ inches outside of what you previously sanded using the 400-grit sandpaper.
Wet-sanding is a crucial step that volition significantly impact your final outcome, then accept your time and work slowly, check your piece of work regularly to arrange yourself if needed. To ascertain whether you are making any progress, terminate to experience the work surface by hand.
The all-time outcomes should appear like the crosshatch and the surface you worked on should besides feel very shine to the touch. Y'all might have to make a couple of actress passes if the surface is withal to feel smooth.
Fix the delicate parts
As soon as you lot are at present satisfied with the results after two stages of wet-sanding, proceed to tape the more delicate parts and surfaces of the automobile to brand sure they won't exist affected in the side by side pace. Examples of these delicate parts include tail lights, headlights, mirrors, handles, screen wipers, and rims. This is in preparation for the application of the undercoat which might commonly interfere or even compromise these parts.
Dry-sanding
Continue to dry-sand the surface. For this step, the car has to be completely dry. Use the finer higher grit sandpapers such every bit the 600 or 800 grit sandpaper to do the task. The goal of this step is to achieve extra smooth and even finishes.
While dry sanding, you demand to pay actress attention to the design in which you lot are sanding. It is advisable to sand at an angle of 45° while tackling scratches. For normal scratches, you just take to get with the natural grains for optimal outcomes.
Rinse & Dry
Now use a hose to rinse the motorcar to rid information technology of the finer dust and particles after dry out sanding. Check the nature of the wastewater to see to it that it turns milky. If it does, it is the correct time to cease sanding, as at this stage, any further sanding might now interfere with the undercoat. Wipe the surface with a make clean fabric and leave to dry completely.
Finish off with grit paper
Afterwards rinsing and drying the car out, it is time to requite information technology a touch-upwardly earlier the adjacent two buffing steps. For that, using a light hand, you need to apply fine grit paper all over the surface to even out any remaining bumps or any advent of coarseness.
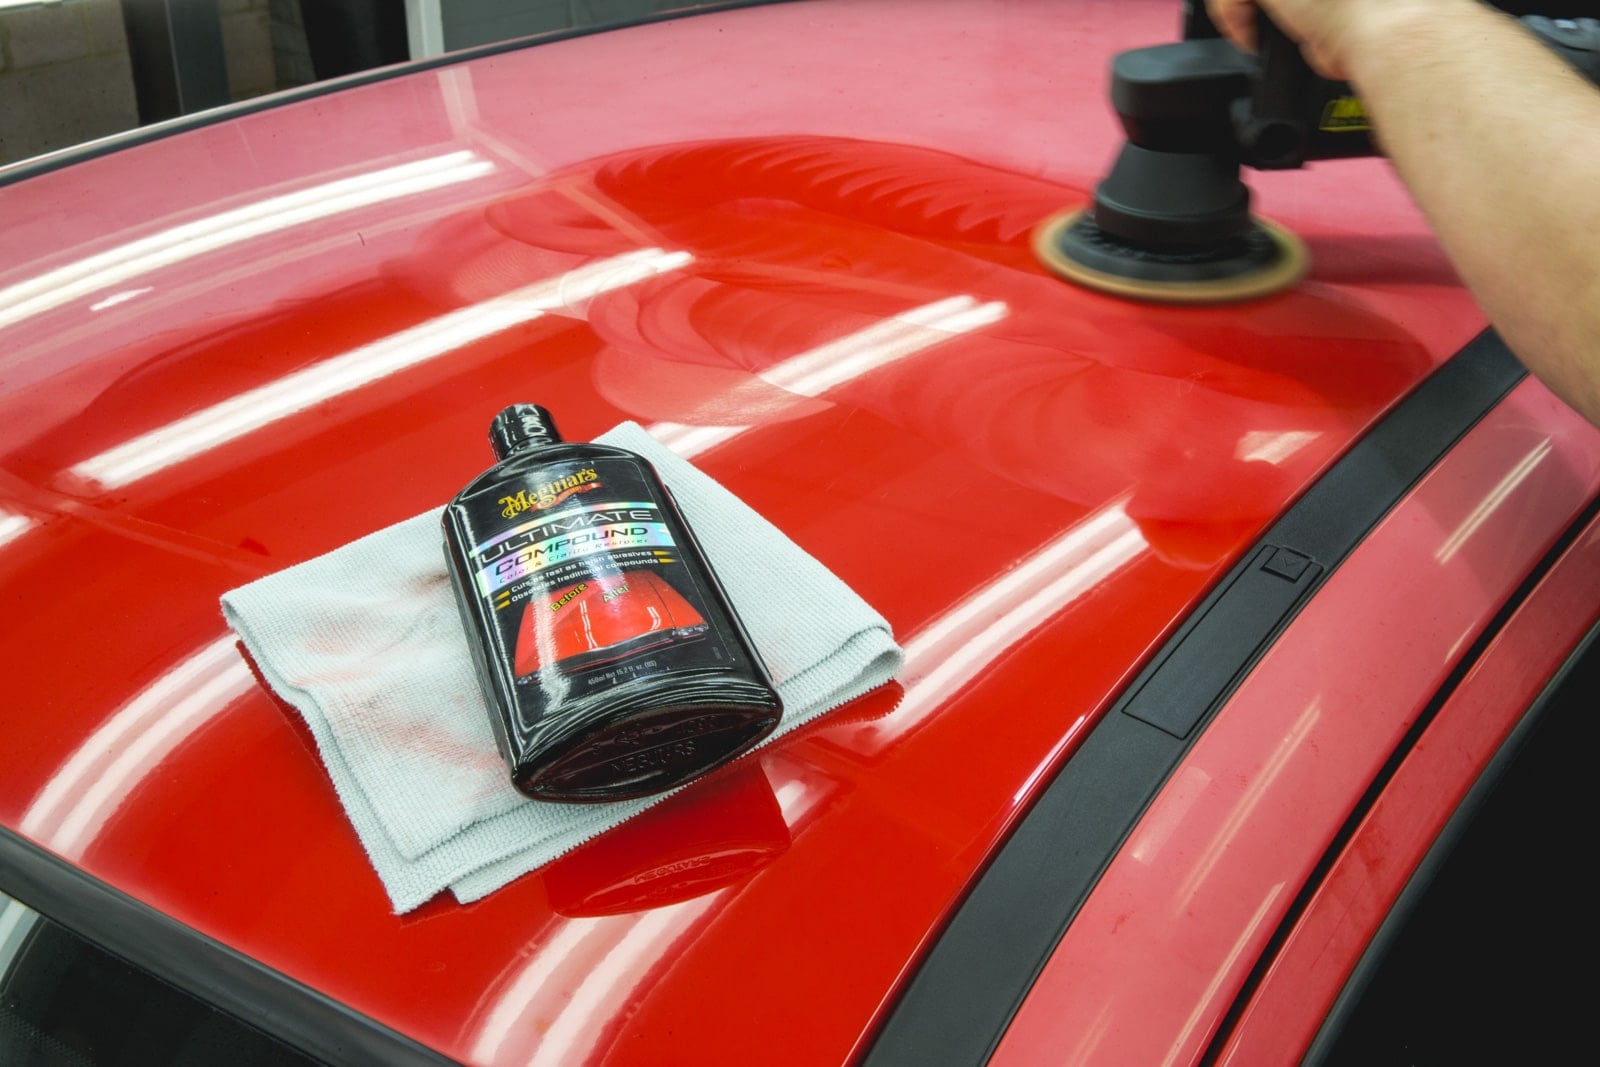
Buff the sanded surface
After the sanded portion is now smooth and even, finish off by applying polish the work surface of the car. Set up the electrical polisher at a lower rotational speed of around 1,200-one,400 revolutions per minute.
Apply the polish evenly to the entire surface. Work consistently in circular motility, as this technique ensures some overlap and makes sure that every fleck and slice of the surface is worked on.
Alternatively, if you do non have the electrical polisher, you lot may use the 100% wool pad to do the job manually. If you lot're buffing by hands, recall to wearable protective gloves and employ the polish sparingly to avoid sustaining burns or compromising the quality of the final outcomes.
At this phase, the scratches will accept already become unnoticeable. However, the surface will be left with some swirls which you lot will have to become rid of. Use the finishing polish and switch to a softer polishing pad, then experience costless to run the electrical polisher at higher revolutions per minute to generate stronger shines faster.
Buffing with compound
Using the 100% wool pad to start buffing the second time, this time with the buffing compound or specialized clear coat removing amanuensis using a higher revolutions per minute on the electric polisher. The scratches and any imperfections should be long gone if you properly performed the previous polishing step, but notwithstanding, a finishing touch upward using the soft wool pad and the buffing amanuensis would considerably enhance the overall effect.
The compound needs to be buffed carefully as information technology can burn the pigment if used carelessly. If you're unsure, y'all tin can examination the buffing agent on a spare office if available to brand certain the solution is condom and mild for usage.
Finish off the polish
Lastly, clean the polished expanse to become rid of remaining particles to brand information technology look even brighter and shinier. Apply the spray detailer on the polished areas to bring about the extra sleeky finish.
Some machine owners would stop here, but if you are a perfectionist, never skip waxing in any auto exterior treatment every bit it gives much more evenness and shine to the paint task. While at it, do not leave the polisher on a single spot for too long to avoid leaving streaks behind or potentially dissentious your hard piece of work up until at present.
READ MORE
- How To Clean Car Windows Without Streaks
- Best Ways To Clean Bugs Off Windshield
How To Remove Clear Coat From Car: Pro Tips
- Perform the clear coat removal process in a garage or any shaded expanse, ideally when it is not too hot outside to prevent the clear coat remover from drying out. However, avoid working on high humidity days every bit your car might not dry completely after sure steps.
- Articulate coat removing agents can be applied with spray bottles every bit it is easier to piece of work with them, but y'all must be actress conscientious considering the excess production tin be spritzed all over the surrounding surfaces.
- The buffing clear coat remover can besides go rid of the pigment, so brand sure it is not applied too far away from the trouble areas. If needed, remove the car part you are working on and then the remover doesn't become to the other surfaces.
- If the clear coat is difficult to remove in sure areas, you might demand to apply a scrap more than of the clear coat removing agent for proper removal. Buff the areas with a scuff pad subsequently applying the removing agent on the problem area.
- While buffing, practice not keep the buffer on a single spot for likewise long to avoid amercement to the piece of work surface.
Source: https://carfromjapan.com/article/car-maintenance/how-to-remove-clear-coat-from-a-car/
Posted by: morganyiestinne.blogspot.com
0 Response to "How To Take Clearcoat Off To Paint"
Post a Comment